CONNECT TO UNIVERSITIES VIA Y5ZONE HOTSPOTS
OnePass@HKSTP users can connect to Y5Zone's Wi-Fi hotspots (https://www.y5zone.net/) using OnePass@HKSTP ID and password.

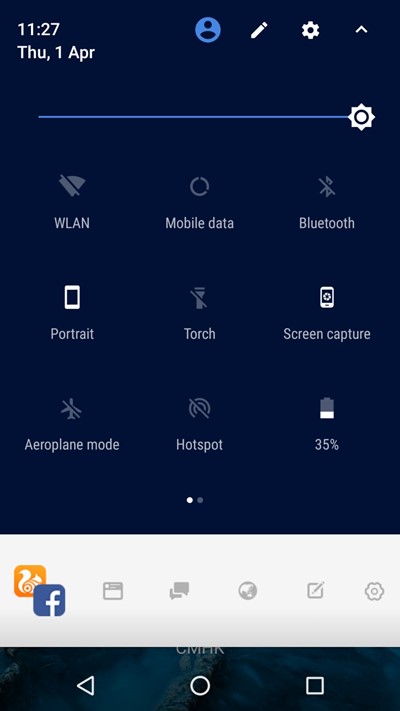
Swipe down from the top of your screen to display the notification shade. Turn on your phone's Wi-Fi connection by tapping on the Wi-Fi icon if you haven’t done so yet. Next, long tap on the Wi-Fi icon to display your Wi-Fi settings.
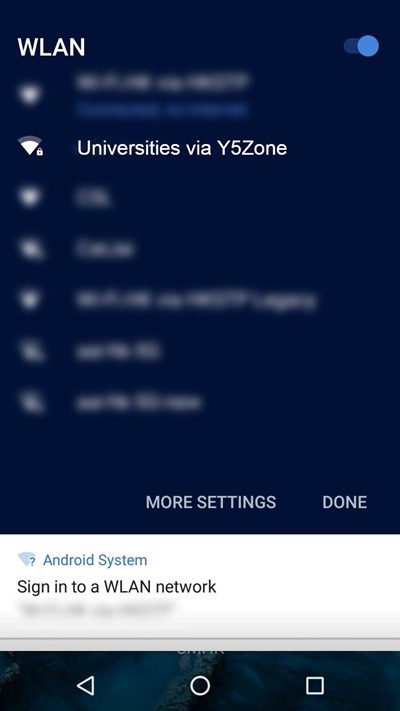
Tap 'Universities via Y5Zone' on the list of Wi-Fi networks on your screen.
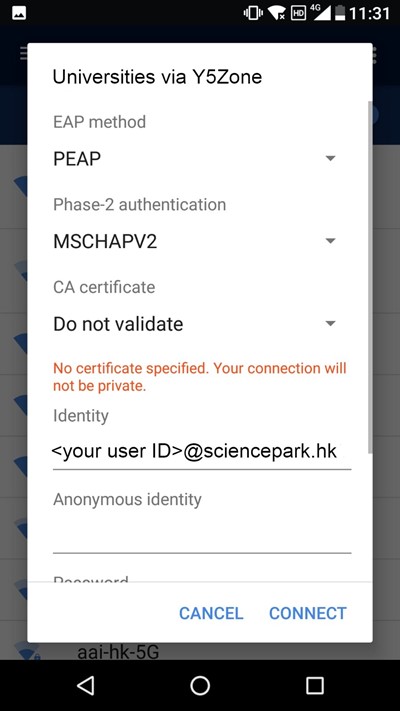
After choosing the Universities via Y5Zone Wi-Fi network, enter the following values in their corresponding fields, and then tap 'Connect':
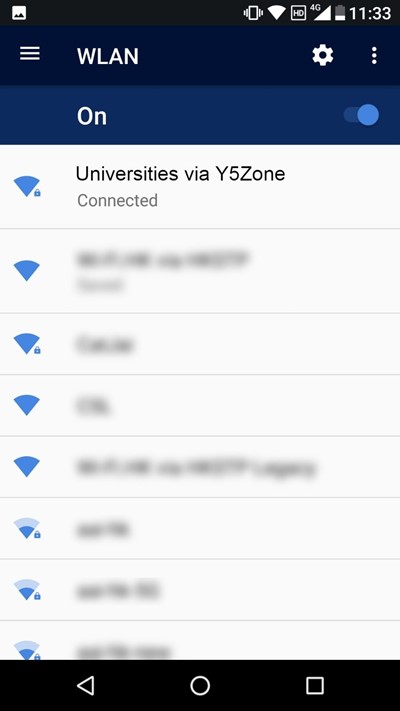
Congratulations, you're now connected to the internet via Y5Zone Free Wi-Fi!
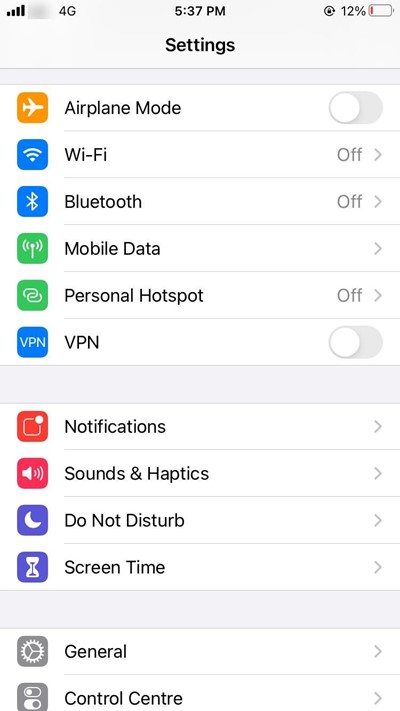
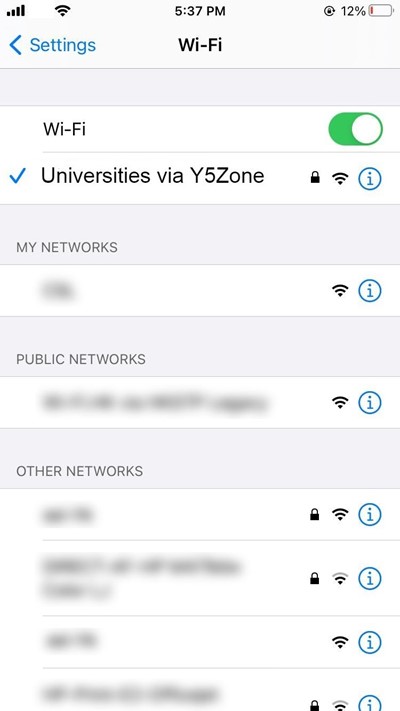
Go to your iPhone's settings and tap 'Wi-Fi'.
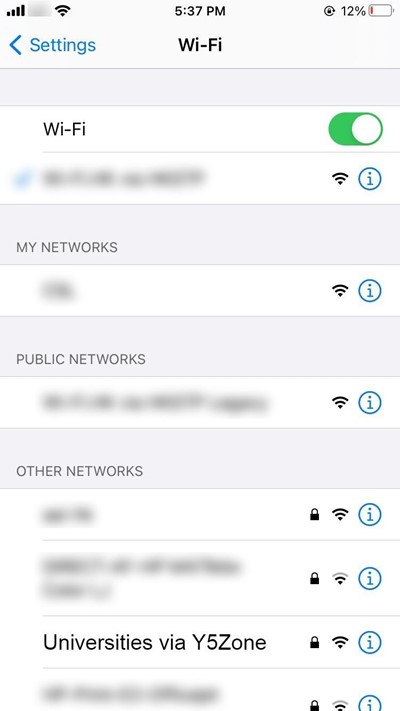
Turn on your phone's Wi-Fi by tapping the Wi-Fi toggle if you haven’t done so yet. Next, tap 'Universities via Y5Zone' on the list of available Wi-Fi networks.
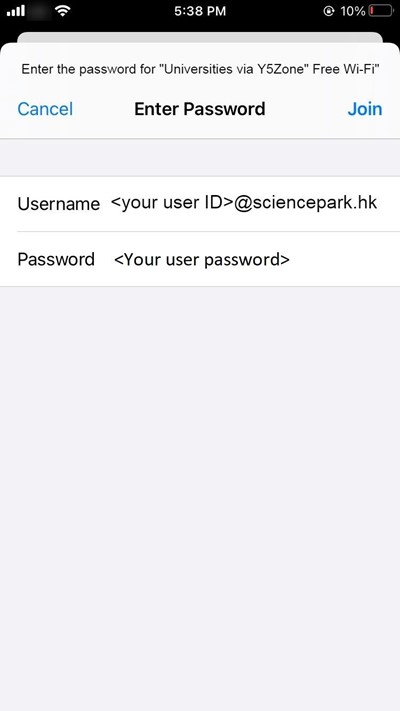
After choosing the Y5Zone Free Wi-Fi access point, enter the following values in their corresponding fields, and then tap 'Join':
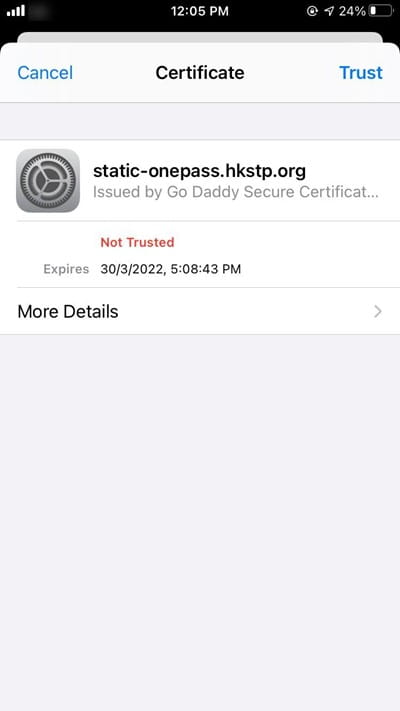
The phone will ask you to trust the Y5Zone Free Wi-Fi certificate. Confirm this by tapping 'Trust'.
Congratulations, you're now connected to the internet via Y5Zone Free Wi-Fi!
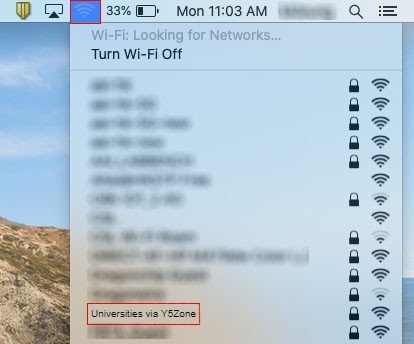
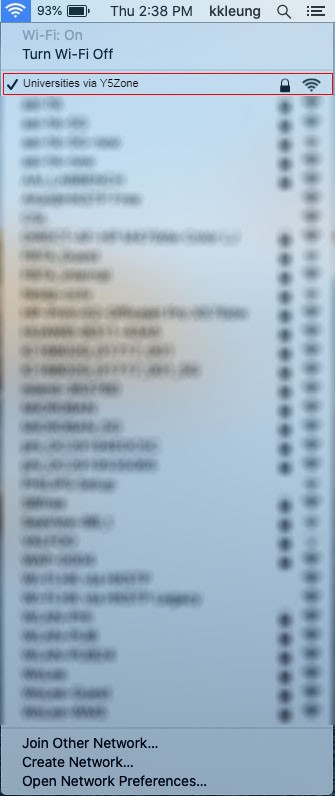
If you haven't done so yet, turn on your macOS device's Wi-Fi connection by clicking on the 'Turn Wi-Fi On' option on the menu bar. Next, click 'Universities via Y5Zone' on the list of available Wi-Fi networks.
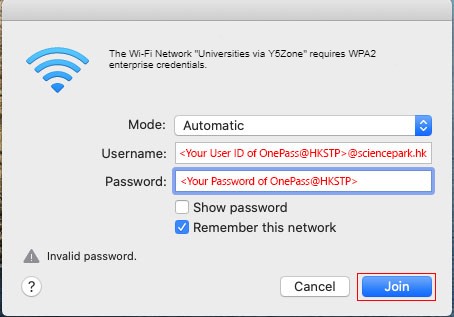
Enter the following values in their corresponding fields, and then click 'Join':
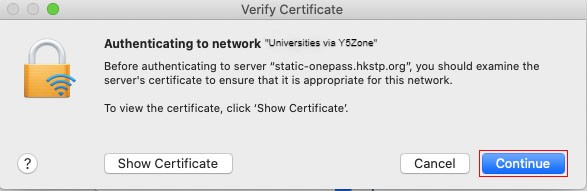
The device will ask you to verify the Y5Zone Free Wi-Fi certificate. Do this by clicking 'Continue' or click 'Show Certificate' to view the certificate details.
Congratulations, you're now connected to the internet via Y5Zone Free Wi-Fi!

If you haven't yet, turn on your Windows device's Wi-Fi connection by clicking on the Network icon on the taskbar. Next, click the Wi-Fi button.

Click 'Universities via Y5Zone' on the list of available Wi-Fi networks.Then click on 'Connect'.
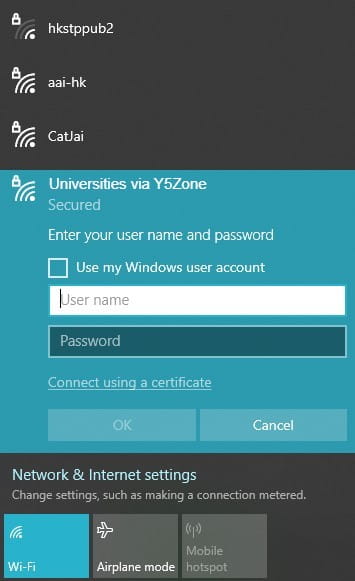
After choosing the Universities via Y5Zone access point, enter the following values in their corresponding fields, and then click 'OK':
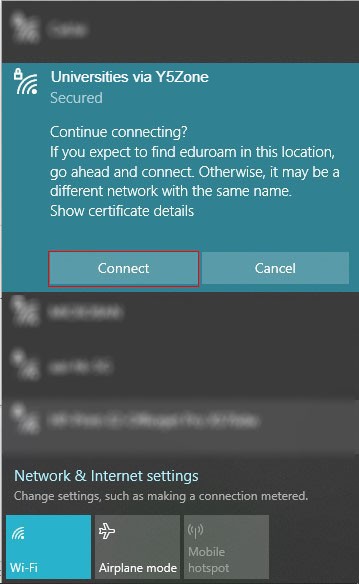
The device will ask you to verify the Y5Zone Free Wi-Fi certificate. Do this by clicking 'Connect'. Or click 'Show certificate details' to view more information about the certificate.
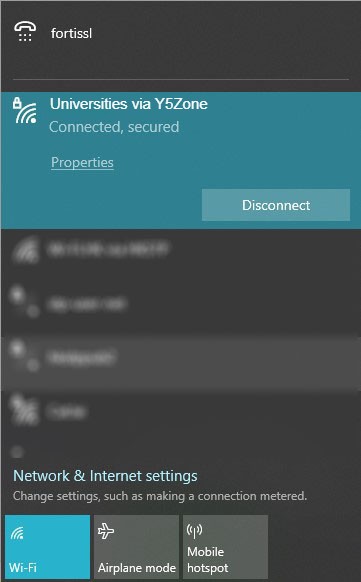
Congratulations, you're now connected to the internet via Y5Zone Free Wi-Fi!